How to Install a Shopify Theme: Step-by-Step Guide 2026
Finding a theme is one thing. Getting it live on your store without breaking anything is another. This guide covers the two most common ways to install a Shopify theme in 2026: buying directly from the Shopify Theme Store, and uploading a file from a third-party developer.
3 Things to Do Before You Install
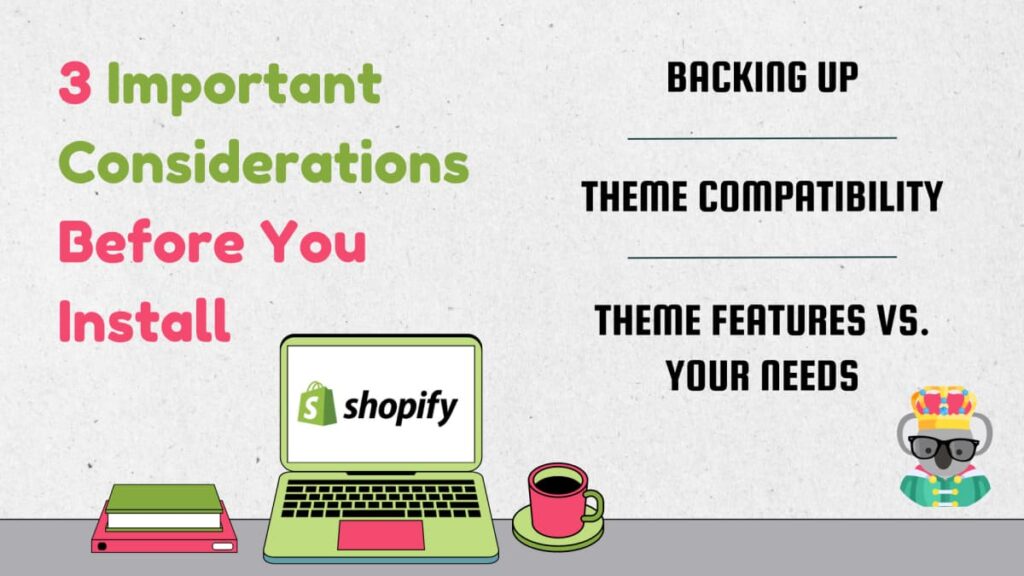
Back Up Your Current Theme
Before you touch anything, download a copy of your existing theme. If the new theme breaks something or just doesn't work the way you expected, you'll want to restore the old one without guessing at what changed.
To do this: in your Shopify Admin, go to Online Store > Themes. Find your currently active theme, open the Actions menu, and select Download Theme File. Shopify packages it as a .zip you can store locally.
Check Theme Compatibility
Shopify 2.0 introduced Online Store Editor sections on every page template, not just the homepage. A theme built for an older Shopify version won't support that. Check whether the theme lists "Shopify 2.0 compatible" in its description on the Theme Store, or ask the developer directly if you're buying from a third party.
Match Features to Your Store's Needs
Paid themes on the Shopify Theme Store start at around $180-$350 and come with a wider set of built-in features (advanced filtering, sticky navigation, mega menus, quick buy). Free themes are fully functional but narrower. Before purchasing, list the two or three features that actually matter for your catalog -- things like faceted filtering for large inventories, or a dedicated blog layout -- and confirm the theme includes them before you buy.
Speed is worth checking too. An analysis of 100 popular Shopify themes found the top performers load in under 2.5 seconds, while the average sits around 2.8 seconds. Visitors form a first impression in roughly 50 milliseconds, so the theme you pick has a direct effect on bounce rate.
How to Install a Theme from the Shopify Theme Store
This method is the simplest option and works well if you're choosing from Shopify's own library.
Step 1 -- Navigate to the Themes Section
Log in to your Shopify Admin, click Online Store in the left menu, then select Themes.
Step 2 -- Browse and Filter
Click Visit Theme Store. Use the filters on the left to narrow by industry, catalog size, price (free vs. paid), and features. If you know roughly what layout you want, the "Style" filter is a faster shortcut than scrolling.
Step 3 -- Preview Before You Buy
When a theme looks promising, click Try Theme. This loads a preview on your store's actual content -- products, collections, and existing pages. You can switch between homepage, product page, and collection layouts. Note: the preview editor is the same one you'd use after purchase, so you can test customization options in real time.
Step 4 -- Purchase and Publish
Once you've decided, click Buy Theme and complete the checkout. After purchase, the theme appears in your Theme Library. To make it live, click the Actions dropdown next to it and select Publish. Your previous theme moves to the library as an unpublished backup automatically.
How to Upload a Third-Party Theme
Themes from ThemeForest, independent studios, or developers you've hired directly come as a .zip file. Shopify lets you upload these manually.
Step 1 -- Download the Theme File
After purchasing from the developer or marketplace, download the theme file. It should be a single .zip archive. Some developers ship a parent .zip that contains a smaller inner .zip -- Shopify's upload only accepts the theme .zip itself, so unpack the outer archive first if needed.
Step 2 -- Upload via Shopify Admin
In Shopify Admin, go to Online Store > Themes. In the Theme Library section, click Add Theme, then select Upload Theme. Click Choose File, find the .zip on your computer, and click Upload. Shopify validates and extracts the files. Depending on the theme's size this can take 30 to 60 seconds.
Step 3 -- Verify and Publish
Once the upload finishes, click the theme's name to open its detail page. If the upload succeeded, you'll see a button to preview or publish the theme. Preview it first on your actual store before publishing -- third-party themes sometimes ship with placeholder images or sample section content that you'll want to swap out.
What to Do After Installing
Publishing a theme is the start, not the finish. A few things to take care of once the new theme is live:
- Rebuild your header and footer settings. Shopify does not carry over navigation menu or footer configurations between themes automatically.
- Check your product page templates. If you were using custom templates on specific products or collections, you'll need to reassign them.
- Test on mobile. Over half of Shopify traffic comes from mobile. Go through the checkout flow on a phone before considering the migration done.
If you want to see which themes competing stores are running, Koala Inspector detects the theme (and apps) on any live Shopify store -- useful when a competitor's store has a layout you want to understand before picking your own.

Written by
Ana Gelevska
eCommerce Content Writer
Ana Gelevska is a content writer with more than five years of experience creating content for eCommerce brands and global clients. She digs into each topic and the people it is for, then turns it into clear, useful articles that Shopify sellers and dropshippers can act on.
Connect on LinkedIn