How to Accept Bitcoin on Shopify
January 4, 2022 · Updated June 4, 2026

Shopify has supported Bitcoin and other crypto payments since 2020, when it formally partnered with BitPay, Coinbase Commerce, and CoinPayments. The result is that adding Bitcoin as a checkout option is now a straightforward process: pick a payment provider, connect it via Shopify's Alternative Payment Methods section, and paste in your API key.
This guide covers the three most common providers -- Coinbase Commerce, BitPay, and Blockonomics -- what each one actually does, what it costs, and the exact steps to connect each to your store.
Why bother accepting Bitcoin at all?
The practical case for adding Bitcoin is specific, not abstract:
Transaction fees are lower. Crypto processors typically charge around 1% per transaction, compared with roughly 2.9% + $0.30 for most card processors. On a $200 order, that difference is about $3.80 kept per sale.
No chargebacks. Bitcoin transactions are final. Once confirmed on the blockchain, they cannot be reversed by a card issuer. For merchants selling digital goods or in high-chargeback categories, this alone can justify the setup work.
No intermediary holds funds. With BitPay's settlement option, payments convert to USD and land in your bank the next business day. You never need to hold BTC if you prefer to settle in dollars.
International buyers. Cross-border wire transfers carry fees and delays that can make small purchases unattractive. A customer in El Salvador or Southeast Asia paying in Bitcoin faces no currency conversion at their end.
None of this means Bitcoin payments will replace cards for most stores. But for certain product categories and customer segments, it removes friction that would otherwise cost you the sale.
Payment providers: Accept Bitcoin on Shopify
Shopify does not process crypto natively. You need a third-party provider, and Shopify lets you add them under Settings > Payments > Alternative Payment Methods. Here are the three most widely used options.
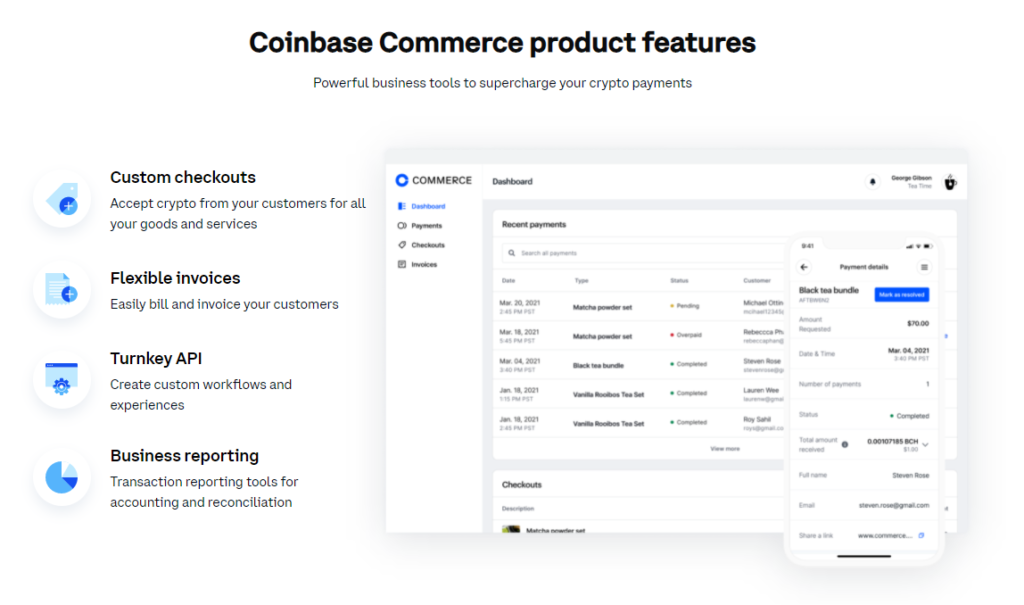
Coinbase Commerce: Accept Bitcoin on Shopify
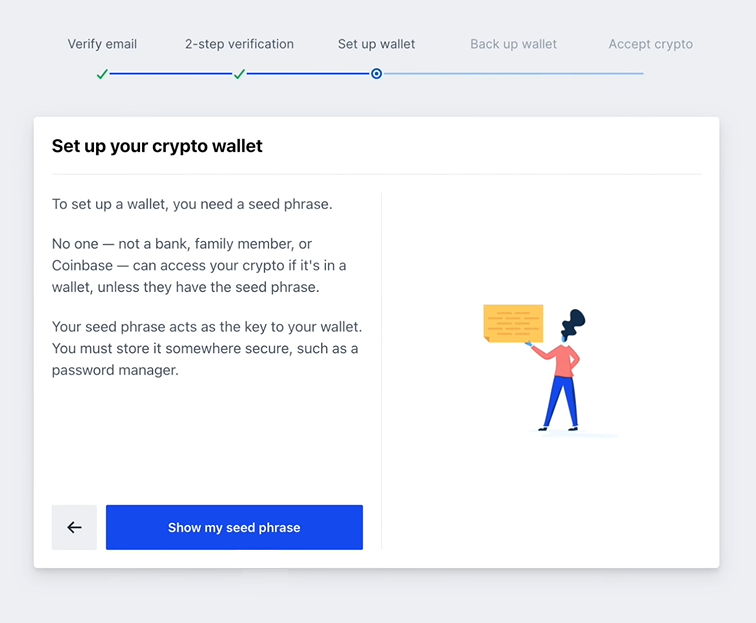
Coinbase Commerce lets you accept Bitcoin directly into a self-custodied wallet -- meaning the funds go to a wallet you control, not a Coinbase account. Setup is a 5-step process: verify your email, enable two-factor authentication (Google Authenticator recommended), generate your crypto wallet with a seed phrase, back up the seed phrase, and then activate the account.
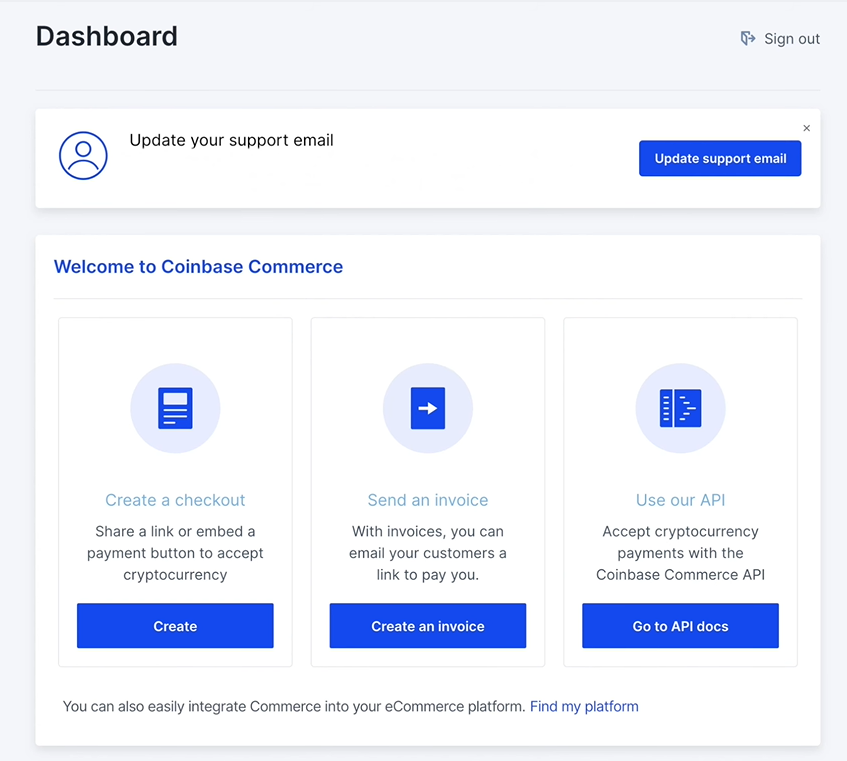
Once registered, you can start creating payment requests directly in Coinbase Commerce, send invoices, or connect via their API for a more custom checkout flow.
After activating your account you will have options to create a checkout, send an invoice, or use their API.
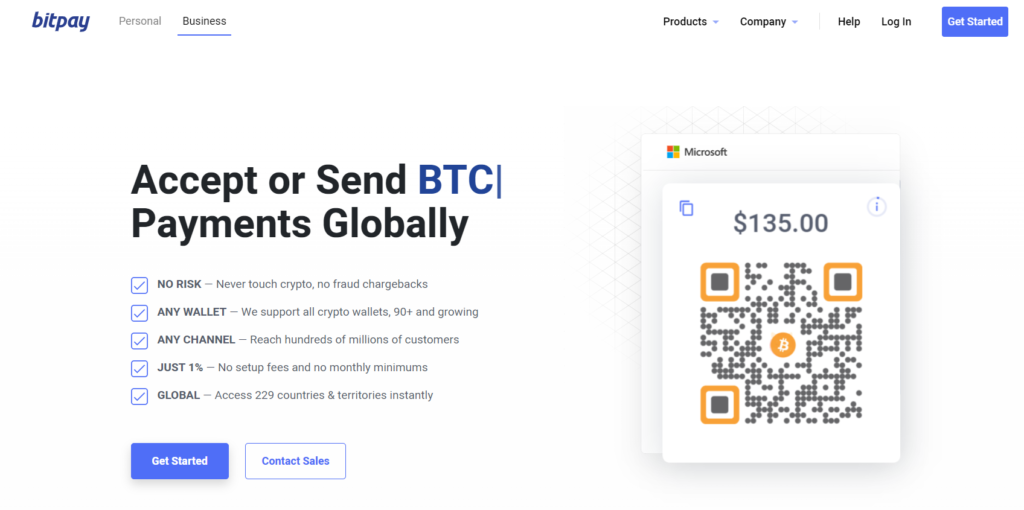
BitPay: Accept Bitcoin on Shopify
BitPay is the option for merchants who want Bitcoin payments but do not want to hold crypto. It accepts 14 cryptocurrencies -- including Bitcoin, Bitcoin Lightning, Ethereum, and Dogecoin -- and settles in USD (or your local fiat currency) the next business day. The practical upside: you get paid in dollars, with no exposure to BTC price swings.
To connect BitPay to Shopify, go to Payment Tools > Manage API Tokens in your BitPay dashboard, generate a token, and paste it into the Alternative Payment Methods section of your Shopify admin.
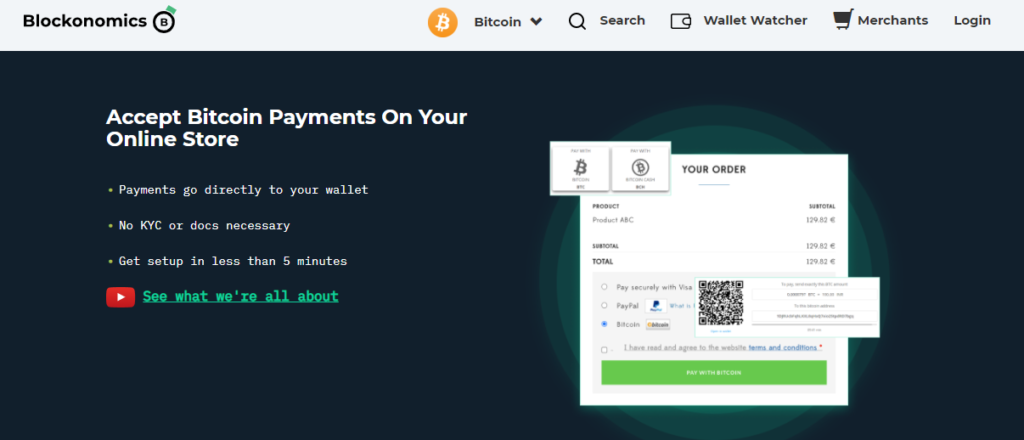
Blockonomics: Accept Bitcoin on Shopify
Blockonomics is the most lightweight of the three. It only requires your email to sign up, charges no limits on BTC volume, and routes payments directly to your own wallet address. There is no intermediary holding your funds.
One important limitation: Blockonomics accepts only Bitcoin (BTC) and Bitcoin Cash (BCH). If you want to accept Ethereum, Dogecoin, or stablecoins, you will need BitPay or Coinbase Commerce instead.
Adding Bitcoin as a payment method on your Shopify store
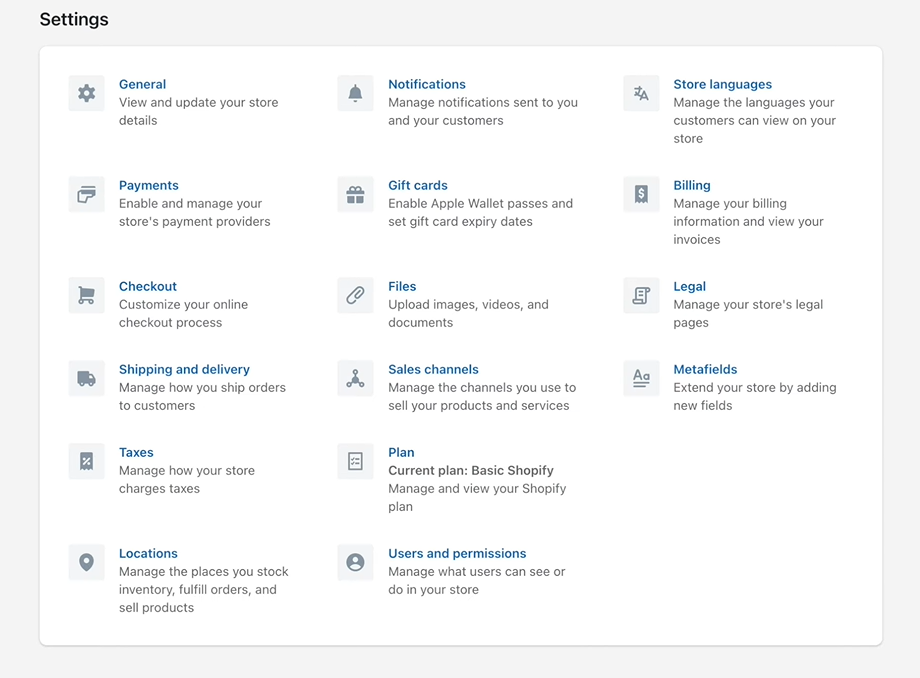
The steps are the same regardless of which provider you choose. Start in your Shopify admin under Settings.
On the Settings page, click Payments. You will see options for your main payment gateway (Shopify Payments, Stripe, etc.) alongside sections for Amazon Pay, third-party providers, and alternative payment methods.
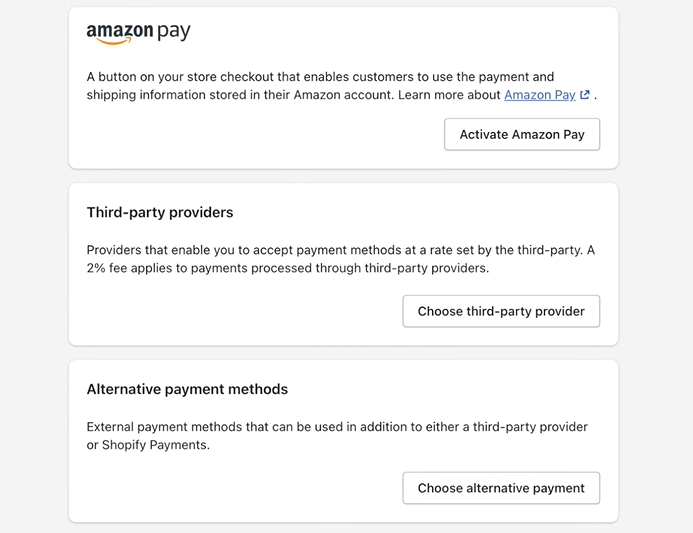
Adding Alternative Payment Methods
Click Alternative Payment Methods, then search for your chosen provider -- for example, "Coinbase Commerce". Select it, then enter your API key from the provider's dashboard. Click Activate to complete the connection.
A few things to note after activating:
- Shopify may still charge its third-party transaction fee on top of the provider's fee, depending on your Shopify plan. On Shopify Plus, that fee is 0%; on lower plans it ranges from 0.5% to 2%. Factor this in when comparing total costs.
- Adding a crypto gateway does not affect your existing payment methods. Card and PayPal checkout continue as normal.
- If a customer has trouble completing a crypto payment, support goes through your provider (BitPay, Coinbase Commerce, etc.), not Shopify.
What to check before going live
Before activating Bitcoin payments for customers, check two things:
Legal requirements in your market. Crypto regulations vary significantly by country. India taxes cryptocurrency profits at 30%. Other jurisdictions impose reporting requirements or transaction limits. If you sell cross-border, the customer's jurisdiction may also have restrictions. It is worth a quick check with an accountant before going live.
Which currencies your customers actually want. If you are adding crypto because customers have asked for it, find out whether they want BTC, stablecoins, or something else. A provider that only covers BTC (Blockonomics) will not satisfy a customer who wants to pay in USDC or Ethereum.
Once those are settled, the technical setup takes under an hour.